
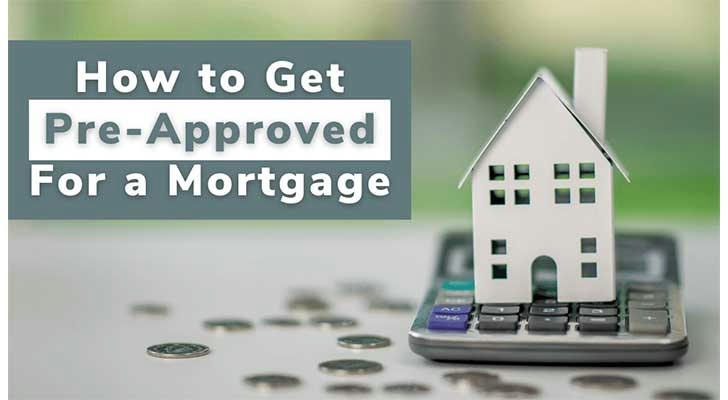
How to Get Pre-Approved for a Mortgage: Step-by-Step Guide
Getting pre-approved for a mortgage is a critical step in the home-buying process. It gives you a clear idea of your budget, strengthens your offer, and shows sellers you’re a serious buyer. Below is a step-by-step guide to help you navigate the process effectively.
🎯 What is Mortgage Pre-Approval?
Pre-approval is when a lender reviews your financial information to determine how much they are willing to lend you. This involves a credit check and verification of income, assets, and debts. Pre-approval typically results in a letter that shows the loan amount and terms you may qualify for.
✅ Step 1: Check Your Credit Score
A good credit score increases your chances of getting pre-approved with favorable loan terms.
Ideal Credit Score: 620+ for conventional loans, but 740+ can get you better rates.
FHA Loans: Minimum score of 500-580 (depending on the down payment).
VA/USDA Loans: No strict minimum, but 620+ is preferred.
💡 Tip: Check your credit score for free through websites like AnnualCreditReport.com or use credit monitoring apps like Credit Karma.
📚 Step 2: Assess Your Financial Situation
Lenders evaluate multiple factors to determine pre-approval eligibility:
Debt-to-Income Ratio (DTI): Ideally, your DTI should be below 43%, though some lenders allow up to 50%.
- 📝 Formula:
DTI = (Monthly Debt Payments ÷ Gross Monthly Income) × 100Down Payment: Conventional loans typically require 3%–20%, while FHA loans can go as low as 3.5%.
Savings & Reserves: Lenders want to see that you have enough for closing costs and 2-3 months of reserves.
📄 Step 3: Gather Required Documents
Be prepared to provide documents that verify your income, assets, and employment. Commonly required documents include:
✅ Pay stubs (last 30 days)
✅ W-2s or 1099s (last 2 years)
✅ Tax returns (last 2 years)
✅ Bank statements (last 2-3 months)
✅ Asset documentation (retirement accounts, stocks, etc.)
✅ Photo ID (driver’s license or passport)
✅ Rental history (if applicable)
🏦 Step 4: Research Lenders and Compare Rates
Don’t settle for the first offer—compare rates and terms from multiple lenders. Options include:
Banks: Traditional lenders with physical branches.
Credit Unions: May offer better rates and personalized service.
Mortgage Brokers: Connect you to multiple lenders for comparison.
Online Lenders: Often faster and more convenient.
💡 Tip: Use rate comparison tools like Bankrate or LendingTree to compare lenders.
💬 Step 5: Apply for Pre-Approval
Once you’ve chosen a lender, submit an application for pre-approval. The application will involve:
A hard credit check that may temporarily lower your score by a few points.
Review of financial documents and verification of information.
Assessment of loan type and amount based on your income, credit, and debt levels.
⚡ Timeline: Pre-approval can take 1-3 days, but in some cases, it can be completed the same day.
📝 Step 6: Receive Your Pre-Approval Letter
If approved, you’ll receive a pre-approval letter that outlines:
✅ Loan amount
✅ Estimated interest rate
✅ Loan type (FHA, VA, Conventional, etc.)
✅ Expiration date (usually valid for 60-90 days)
💡 Tip: A pre-approval letter strengthens your offer when bidding on a home and can sometimes give you an advantage over other buyers.
🔍 Step 7: Review and Update if Needed
Pre-approval isn’t final approval. Your financial situation should remain stable until closing. Avoid major financial changes, such as:
❗ Taking on new debt
❗ Changing jobs without notifying your lender
❗ Large unexplained bank deposits
💡 Tip: If your situation changes, update your lender immediately to avoid delays.
🎉 Bonus Tips to Improve Your Chances of Pre-Approval
Lower Your DTI: Pay off debts or reduce credit utilization before applying.
Increase Your Down Payment: A larger down payment can improve your chances of approval.
Check for Errors in Your Credit Report: Correct inaccuracies before applying.
🕰️ How Long Does Pre-Approval Last?
Pre-approvals are typically valid for 60 to 90 days. If you don’t find a property in that period, you may need to renew your pre-approval.
🏡 Next Steps After Pre-Approval
Start shopping for homes within your price range.
Work with a real estate agent to identify potential properties.
Be ready to make an offer quickly in competitive markets.
By following these steps, you’ll be well-prepared to get pre-approved and move closer to owning your dream home! 🚀